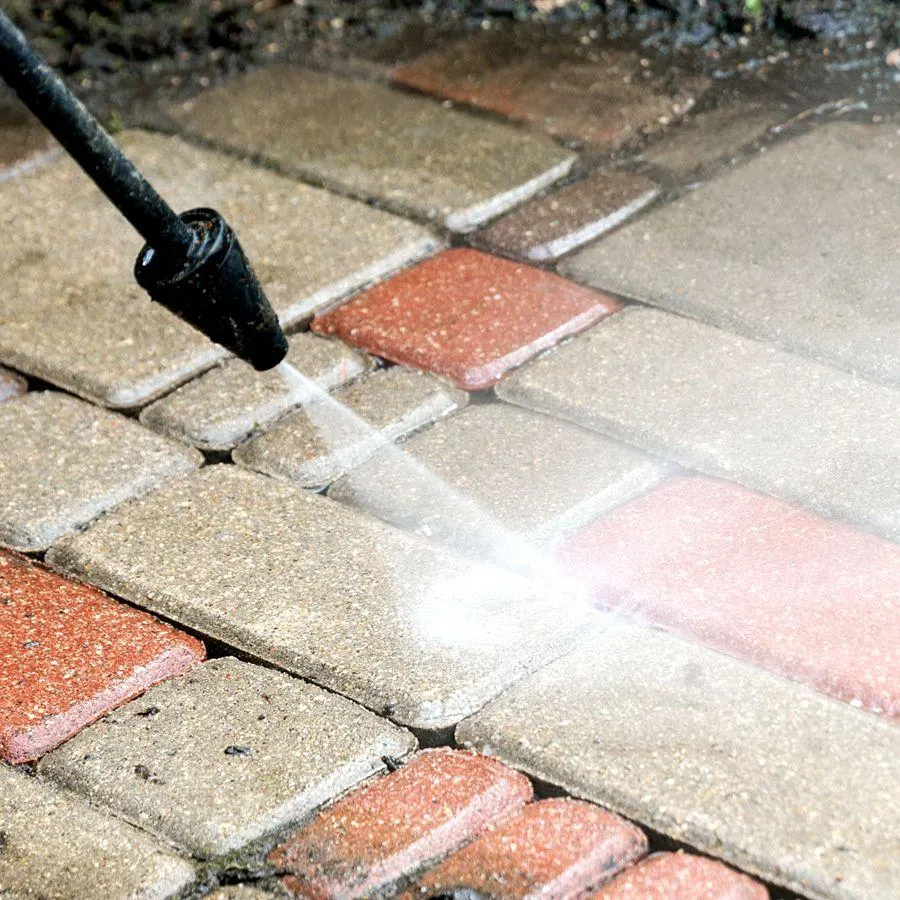
Yes, some pavers can be pressure washed without damaging them, but it depends on the material, surface condition and manufacturer’s cleaning instructions. Some concrete and brick pavers can tolerate carefully controlled pressure cleaning, while others can develop permanent marks, lose their surface finish or have sand washed out of the joints.
The biggest mistake is assuming that all pavers are as durable as a plain concrete driveway. Even if the surface looks solid, excessive water pressure can leave visible streaks, damage protective coatings or disturb the material holding the paving together.
If you’re thinking about pressure washing your driveway, patio or outdoor entertaining area, it’s worth checking a few things before switching on the machine. The right approach may be gentle washing, controlled pressure cleaning or professional assessment, depending on the paving.
Which Types of Pavers Can Be Pressure Washed?
Not all pavers respond to pressure washing in the same way. The material matters, but so do its finish, age, condition and how it was installed.
| Paver type | Can it be pressure washed? | What to watch for |
|---|---|---|
| Concrete pavers | Only where the manufacturer permits it | Surface pitting, colour changes and joint sand loss |
| Clay brick pavers | Some products tolerate controlled washing | Surface wear, damaged joints and loose sand |
| Bluestone and granite | Depends on the stone and finish | Uneven cleaning, finish damage and existing sealers |
| Sandstone | Often better suited to gentler cleaning | Porous surfaces, erosion and discolouration |
| Limestone and travertine | Gentle cleaning is generally preferable | Surface etching and damage to delicate finishes |
| Sealed pavers | Check the coating manufacturer’s instructions | Patchy appearance or damaged sealer |
| Newly installed pavers | Avoid pressure washing until the installer confirms suitability | Unsettled jointing material and disturbed paving |
For example, National Masonry’s concrete paver maintenance guidance advises against high-pressure cleaning equipment. Meanwhile, Australian Paving Centre allows occasional domestic pressure cleaning for suitable paving that has had time to settle.
That difference matters. A pressure setting recommended for one product should never automatically be used on another.
If you’re unsure whether your pavers are concrete, natural stone or another material, check your installation paperwork or ask the supplier before cleaning.
How Can Pressure Washing Damage Pavers?
Surface etching, pitting and colour changes
A concentrated jet of water can remove or alter the top layer of certain paving materials. This may leave small pits, rough patches or noticeable lines across the surface.
Coloured concrete pavers can develop uneven-looking areas if the surface finish is disturbed. Natural stone may also show changes in texture or appearance, particularly when it has a delicate or honed finish.
Some marks are simply remaining dirt or uneven cleaning. Others indicate that the surface itself has changed. Increasing the pressure to remove those marks can make the problem worse.
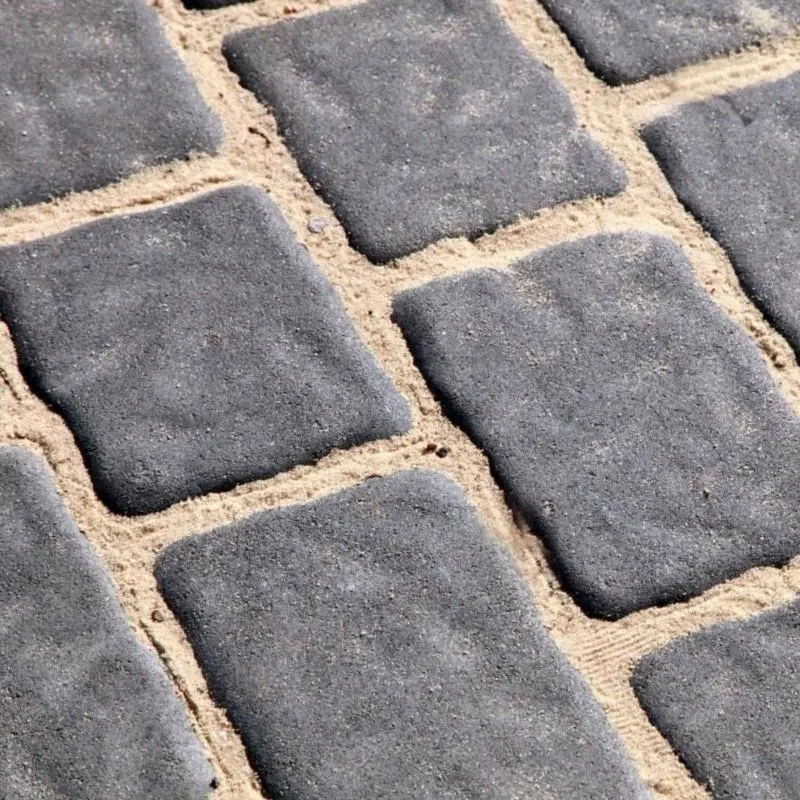
Sand washing out between pavers
Many paved driveways and patios have jointing sand between individual pavers. This material helps keep the paving units supported and limits movement.
A pressure washer directed into the gaps can remove this sand, leaving deeper or partially empty joints. The problem is more likely when the sand is already loose, the joints have deteriorated or the spray is concentrated directly into them.
Damage to existing sealers
Some pavers have protective coatings designed to reduce staining or change their appearance. Aggressive pressure cleaning can wear away or disturb these coatings, potentially leaving the paving looking patchy.
A clean-looking surface isn’t necessarily an undamaged one. The condition of the finish needs to be considered as well.
What Should You Check Before Cleaning Your Pavers?
Start by looking at the condition of the paving rather than choosing a pressure washer setting.
Check whether individual pavers move when stepped on, whether the joints are already missing material, and whether there are cracks, chips or worn areas. If the surface has a glossy or colour-enhancing finish, it may have been sealed.
Also look at the type of staining. Ordinary dirt, moss, oil, rust and white mineral deposits may require different cleaning methods. Using more pressure isn’t necessarily the answer.
If the paving is relatively new, check with the installer that the jointing material has settled or cured sufficiently. Don’t rely on a general waiting period found online because installation systems and products differ.
Finally, consider where the wash water will travel. Water shouldn’t be directed towards garage doors, vulnerable building joints or areas where it can carry contaminated runoff into stormwater drains.
How to Pressure Wash Suitable Pavers Without Damaging Them
Only use a pressure washer if the paving manufacturer’s instructions allow it. If those instructions are unavailable, don’t assume a general internet recommendation is safe for your particular paving.
For suitable pavers, the following precautions can reduce the risk of damage.
1. Remove loose dirt and debris first
Sweep away leaves, soil, grit and other loose material with an appropriate outdoor broom. This helps you see the condition of the paving and reduces the amount of debris that needs to be washed away.
Check for loose joints and damaged areas while sweeping.
2. Choose equipment suitable for the paving
Use equipment and settings consistent with the paver manufacturer’s instructions. A machine’s advertised maximum pressure doesn’t tell you whether it is suitable for your surface.
Nozzle selection, water flow, distance from the paving and time spent spraying one spot can all influence the result.
Avoid concentrated jets and aggressive rotary nozzles unless the surface and equipment manufacturers specifically permit their use.
3. Test a small, inconspicuous area
Before cleaning the whole driveway or patio, test an area that won’t be immediately noticeable.
Allow it to dry and check for colour differences, rough patches, missing joint sand or changes to the surface finish. If anything looks wrong, stop rather than adjusting the pressure upwards.
4. Keep the spray controlled
Follow the manufacturer’s recommended working distance, nozzle and technique. Move steadily across the surface rather than holding the spray on one stubborn mark.
Avoid directing water into the paving joints or concentrating the spray along the edges of individual pavers.
Don’t assume a rotary surface-cleaning attachment makes the job automatically safe. It can help produce more even cleaning on suitable materials, but incorrect equipment settings can still cause damage.
5. Treat stubborn stains separately
If an oil stain, rust mark or white patch remains, don’t repeatedly blast it with more pressure.
Identify the stain first and use only a cleaner approved for that paving material. Avoid strong acids and unsuitable household chemicals, particularly on natural stone.
Never mix cleaning products. Follow their safety instructions and prevent contaminated wash water from entering stormwater drains.
6. Inspect the surface after cleaning
Once the paving has dried, look for streaks, uneven colour, missing sand and any damage that wasn’t visible before washing.
If the joints have lost material, identify the jointing system before deciding how to restore it. Don’t simply leave significantly depleted joints untreated.
How Do You Avoid Washing Sand Out of Paver Joints?
The most effective precaution is to avoid directing concentrated water pressure into the joints.
Keep in mind that pavers may contain ordinary jointing sand, polymeric sand, stabilised jointing products or mortar. These materials behave differently, and some can be damaged by cleaning methods that others tolerate.
Older paving deserves particular attention. Over time, joints can lose material through weather exposure, movement and ordinary wear. Pressure washing may remove what remains.
If your paving already has deep gaps or loose jointing material, consider repairing those issues before cleaning.
Even when you’re careful, some sand loss may occur. Australian Paving Centre specifically advises checking and topping up appropriate joints after pressure cleaning. However, the right replacement material depends on the existing system.
What Should You Do if Pressure Washing Removes Joint Sand?
First, inspect how much material has been removed.
A small amount of surface-level sand loss in an otherwise stable, sand-jointed area is different from deep empty joints, loose pavers or paving that has started to sink.
For ordinary sand-jointed paving, topping up with the correct jointing sand may be appropriate. Use the material recommended for the installation and follow the supplier’s instructions.
Polymeric sand requires additional care. It contains binding additives and must be installed according to the product’s requirements for joint depth, cleanliness, moisture and curing. Sweeping new polymeric sand over intact or unsuitable joints may not produce a lasting repair.
Mortared joints require a different repair method altogether.
There’s also an important difference between jointing sand and bedding sand. Jointing sand occupies the gaps between pavers, while the bedding layer sits underneath them.
If the pavers are rocking, sinking or spreading apart, adding more sand between the gaps won’t necessarily fix the underlying problem. A paving specialist may need to assess the bedding, base or edge restraints before further cleaning.
Why Do Pavers Have White Marks or Streaks After Pressure Washing?
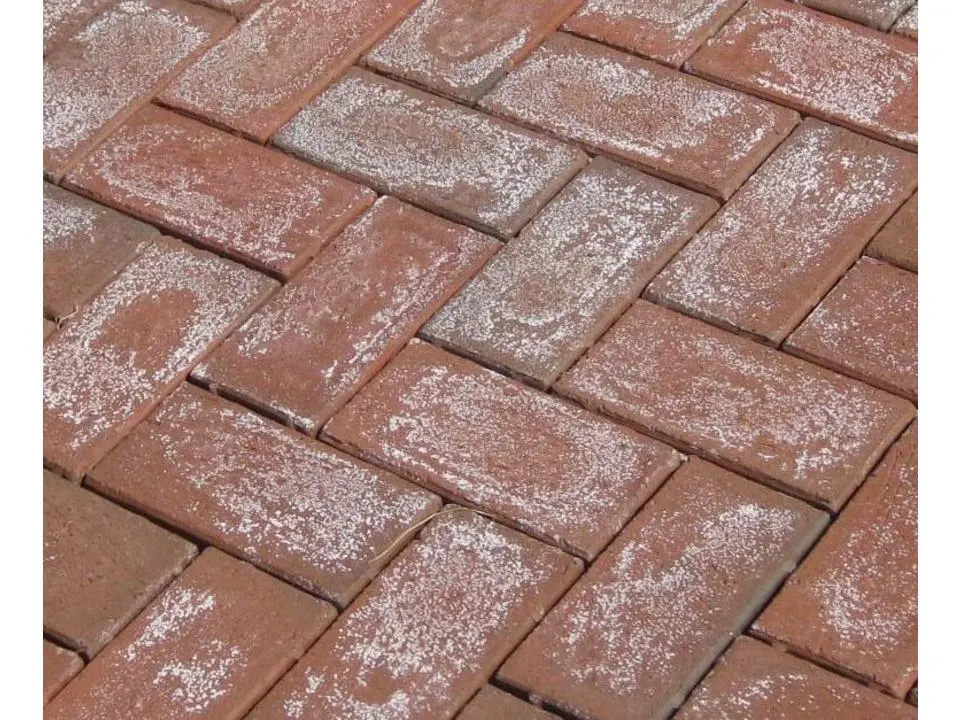
White patches and visible washing marks don’t always have the same cause.
One possibility is efflorescence, a whitish mineral deposit that can appear as moisture moves soluble salts through concrete or masonry. It may develop independently of pressure washing.
Another possibility is residue from jointing products, including polymeric sand, or a problem with an existing sealer.
Straight lines, circular marks or uneven patches can also result from inconsistent cleaning or physical alteration of the surface.
These issues need different solutions. For example, washing a surface repeatedly won’t restore a finish that has already been etched away.
If the marks appeared immediately after cleaning, photograph the area when dry and compare it with its previous condition. Avoid further aggressive cleaning until you’ve identified the cause.
Should You Seal Pavers After Pressure Washing?
Not every paved surface needs sealing after cleaning.
Some paving products may benefit from a compatible sealer that reduces stain absorption or changes the finish. Others may already have a protective treatment, or the manufacturer may recommend leaving the surface unsealed.
Before applying anything, check the paving material, existing coatings and sealer manufacturer’s instructions.
The surface and joints may need to be completely dry before treatment, and the product may have specific preparation and curing requirements.
If your paving is already patchy, discoloured or damaged, applying a new sealer without investigating the problem may make its appearance more noticeable.
Sealing also won’t repair loose pavers, failed joints or damaged bedding.
When Should You Avoid Pressure Washing Pavers?
Pressure washing isn’t the right choice for every surface.
Avoid it when the manufacturer prohibits it, when the paving is loose or cracked, or when the surface has a delicate finish that may be damaged by concentrated water pressure.
Recently installed paving, deteriorating joints and unknown sealers are other reasons to proceed cautiously.
For some areas, sweeping, a suitable soft brush and an approved cleaning product may be enough. A low-pressure cleaning method may also be appropriate, provided the cleaning solution is compatible with the material.
Natural stone should be assessed carefully because even gentler chemical treatments can damage certain finishes.
How to Keep Outdoor Pavers Cleaner for Longer
Regular maintenance can reduce the need for aggressive cleaning.
Sweep away leaves and dirt before they become trapped in the joints. Clean spills promptly using a product appropriate for the paving, and remove weeds carefully without pulling out unnecessary jointing material.
Pay attention to damp areas. Paving that stays wet because of shade, poor drainage or overflowing water may develop recurring algae and moss.
In Melbourne’s south-eastern suburbs, shaded patios and outdoor areas exposed to garden runoff may need more frequent attention, but that doesn’t necessarily mean more pressure washing.
If water repeatedly pools on the paving, deal with the drainage issue rather than simply cleaning away the growth each time.
DIY Pressure Washing vs Hiring a Professional
A small area of sound, manufacturer-approved paving may be manageable with suitable domestic equipment and careful preparation.
However, hiring a pressure washer doesn’t guarantee a good result. You still need to know which material you’re cleaning, what equipment is appropriate and whether the joints can withstand the process.
Professional advice is worth considering if you have extensive paving, natural stone, an unknown sealer, stubborn staining or existing joint problems.
A cleaner can assess whether cleaning is appropriate, but structural paving repairs may require a paving specialist.
Need Help Cleaning Your Outdoor Pavers?
Mommy Bear Cleaning Services provides pressure cleaning in Officer and surrounding suburbs, including outdoor areas such as patios, alfresco spaces and suitable concrete paving.
If you’re unsure whether your paving can be pressure cleaned, contact our team to discuss the surface and its condition before arranging a quote. We service Officer, Pakenham, Berwick and other areas of Melbourne’s south-east.
Frequently Asked Questions
What PSI is safe for pressure washing pavers?
There isn’t one safe PSI for every paver. Australian Paving Centre suggests a domestic pressure cleaner of about 1,500 PSI or less for suitable paving that has settled, but National Masonry advises against high-pressure cleaning its concrete pavers. Always follow the instructions for your particular product.
Can you pressure wash newly laid pavers?
You should avoid pressure washing newly installed paving until the installer confirms the surface and jointing materials are ready. Washing too early may remove jointing material or disturb paving that hasn’t properly settled.
Is a surface cleaner safer than a pressure washer wand?
A suitable surface-cleaning attachment can help produce more even results on some durable surfaces. However, it doesn’t guarantee protection from etching, coating damage or joint sand loss. Equipment settings and manufacturer approval still matter.
Does pressure washing always mean you have to re-sand pavers?
Not necessarily. If the existing joints remain intact and the jointing system is suitable, complete replacement may be unnecessary. If significant material has been removed, the correct repair depends on the jointing product and the condition of the paving.
Why does moss keep coming back after pressure washing?
Moss and algae can return when the paving remains damp, shaded or affected by poor drainage. Cleaning removes existing growth but doesn’t necessarily change the conditions that allow it to develop. Improving drainage and maintaining the surface can help reduce recurring problems.
The safest approach is to understand the paving before cleaning it. Check the manufacturer’s instructions, protect the joints and choose a method suited to the actual material rather than assuming more water pressure will give a better result.